What Is the Installation Process for Helical Piers?
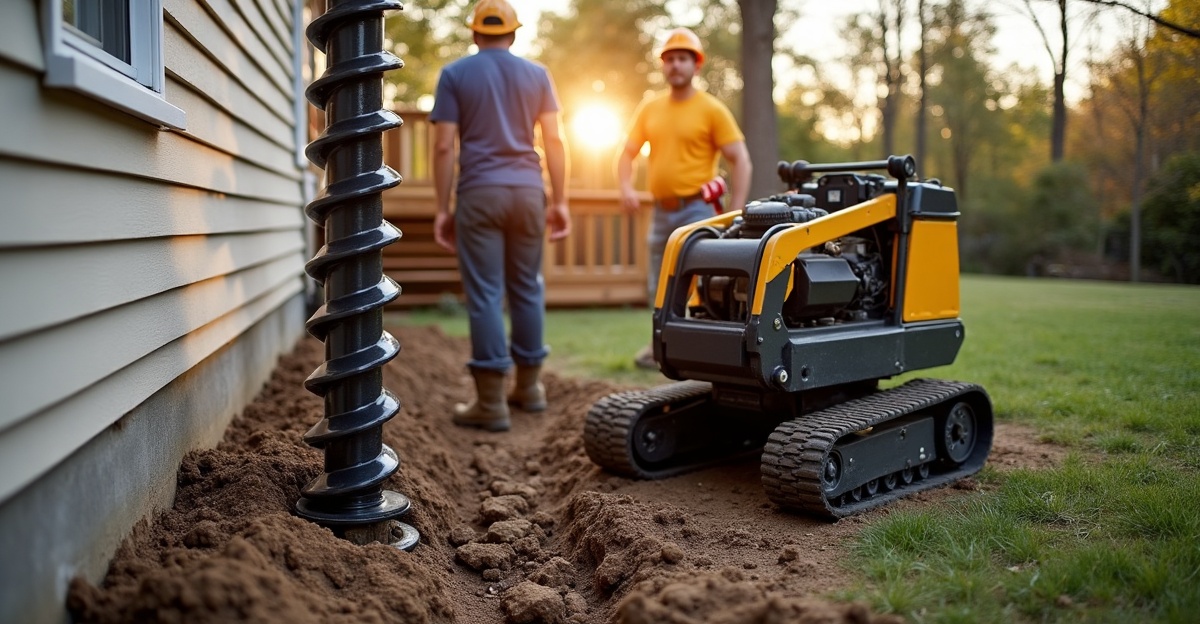
The helical pier installation process relies on hydraulically driven steel shafts fitted with helical plates that rotate into the ground to support foundations, decks, additions, and structural repairs with minimal excavation. We use torque-driven installation instead of poured concrete and long cure times. This approach lets us confirm load capacity through real-time torque readings, reach stable soil below frost depth and active clay layers, and transfer structural loads immediately after we secure the brackets.
Key Takeaways
- Installation begins with site evaluation, engineering calculations, and permit planning to determine pier spacing, depth, and required torque capacity.
We start every project with a thorough site review and soil assessment. Our engineers calculate spacing, expected loads, and target torque values. We coordinate permits early so installation moves forward without delays.
- Piers are advanced into the ground using hydraulic torque motors, with extensions added until target torque or competent bearing soil is reached.
We drive each pier using hydraulic torque motors mounted on specialized equipment. As the pier advances, we add extensions to reach deeper bearing strata. We continue until we achieve the specified torque or confirm competent load-bearing soil.
- Torque is continuously monitored and documented because it directly correlates to load-bearing capacity.
Our crew tracks torque readings throughout installation and logs the data for verification. Torque directly reflects soil resistance and capacity, so these readings confirm that each pier performs as engineered. This documentation also provides clear proof of performance for inspectors and property owners.
- After achieving required depth and torque, brackets or caps are installed to transfer structural loads onto the piers immediately.
Once we reach the required depth and torque, we attach foundation brackets or caps. We then lift or stabilize the structure as needed and transfer the load onto the piers right away. Immediate load transfer keeps projects on schedule and eliminates waiting periods.
- Compared to concrete footings, helical piers require less excavation, cause minimal site disruption, and can be installed in varied weather conditions without cure time.
Helical piers reduce digging and limit disturbance to landscaping and nearby structures. Our team works efficiently in cold or wet conditions because the system doesn’t rely on curing concrete. That flexibility saves time, reduces labor, and delivers consistent performance across a wide range of soil conditions.
How Helical Piers Support a Foundation from Day One
Helical piers, also called screw piles, are steel shafts with helical plates welded to them. We rotate them into the ground to support foundations, decks, additions, garages, and structural repairs.
The helical pier installation process relies on mechanical installation instead of poured concrete. That means minimal excavation and immediate load-bearing capacity. Once the pier reaches the required torque and depth, we can build on it right away. There’s no cure time.
In Minnesota and the Upper Midwest, frost depth and clay soils create real challenges for traditional spread footings. Freeze-thaw cycles move soil. Clay holds moisture and expands. Helical piers transfer loads deeper, below unstable surface layers, into more competent soil.
We use them for:
- Decks and porches
- Home additions
- Garage foundations
- Structural foundation repairs
If we need a clear breakdown of the components and mechanics, this guide explains what helical piers are and how they work in detail. Here, we’ll focus on how we install them and what that looks like in the field.
Step 1: Site Evaluation, Engineering, and Planning
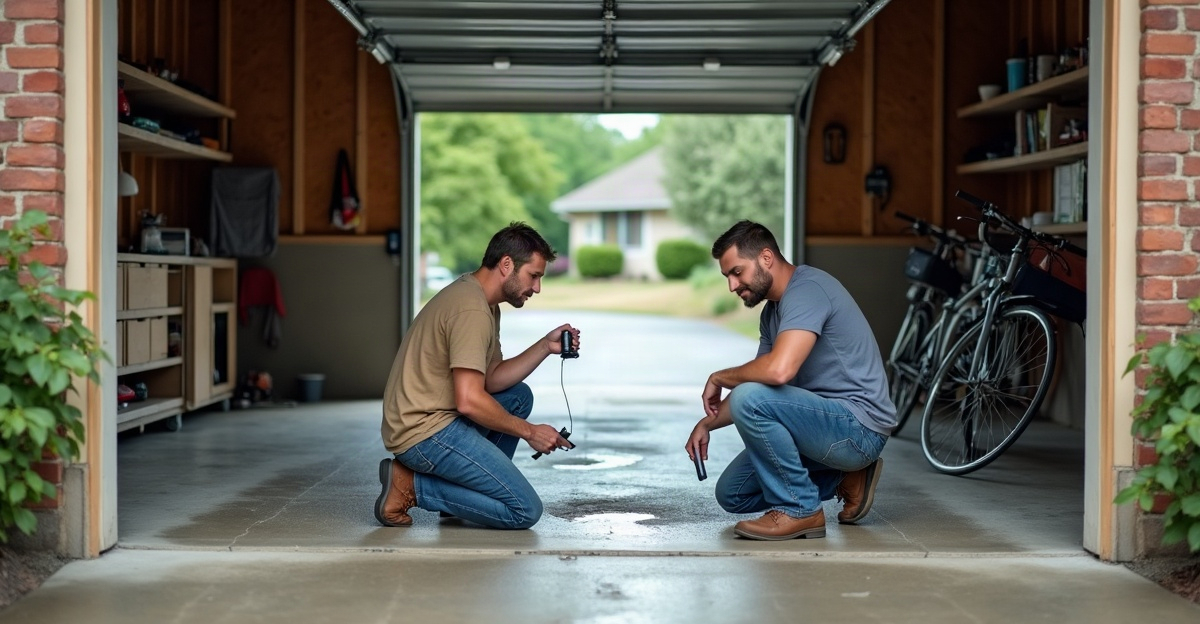
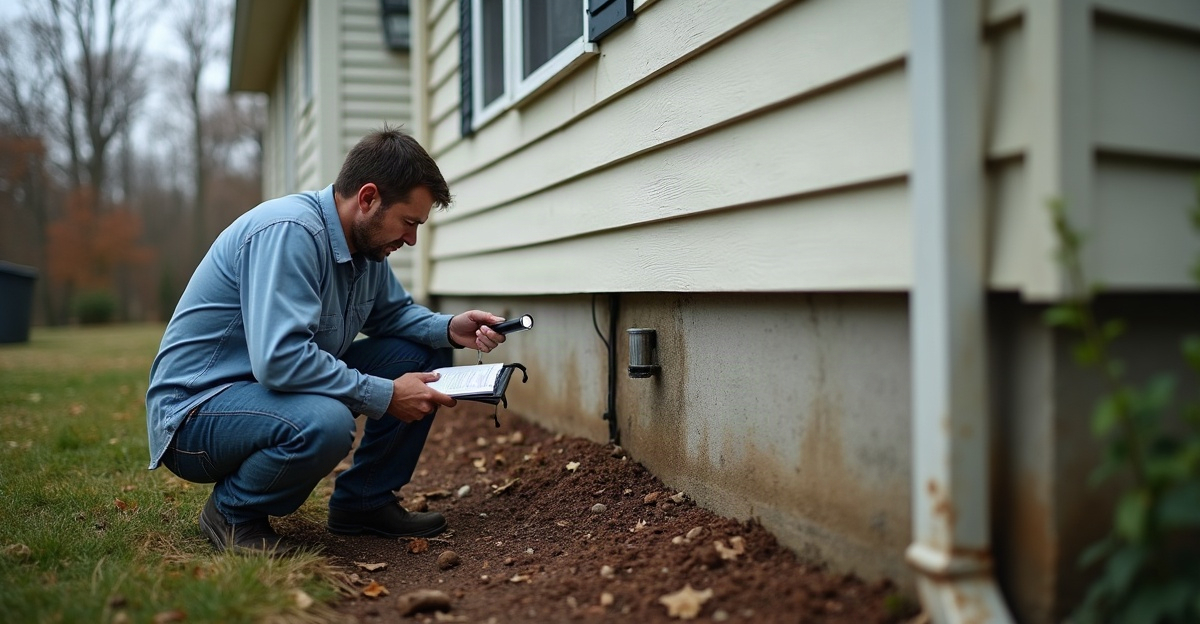
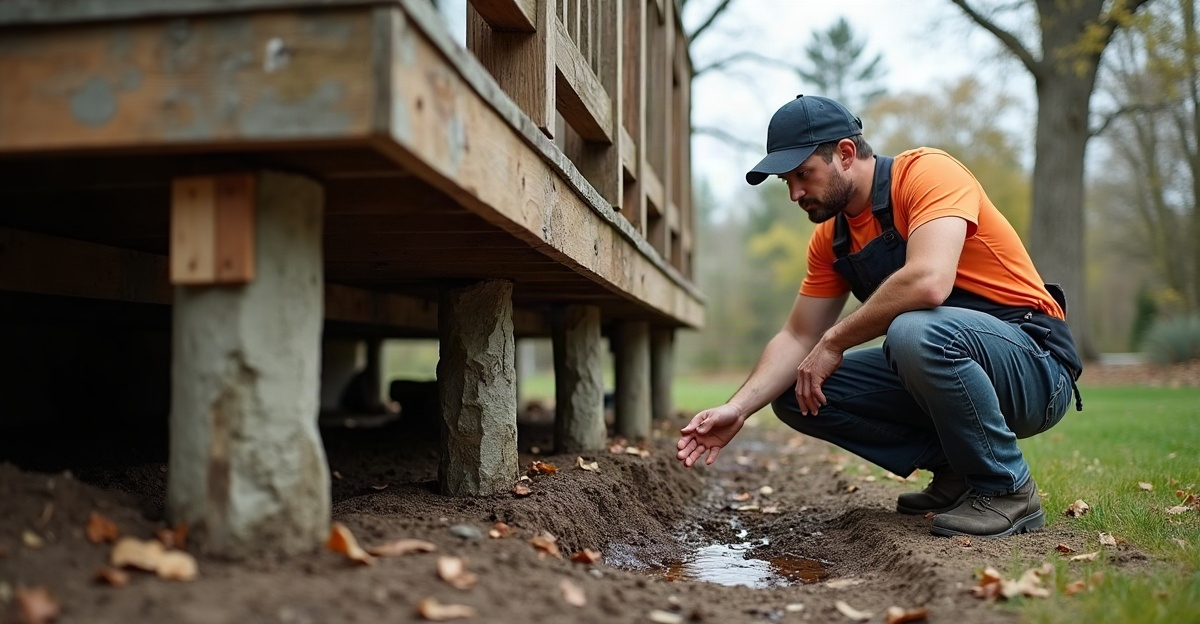
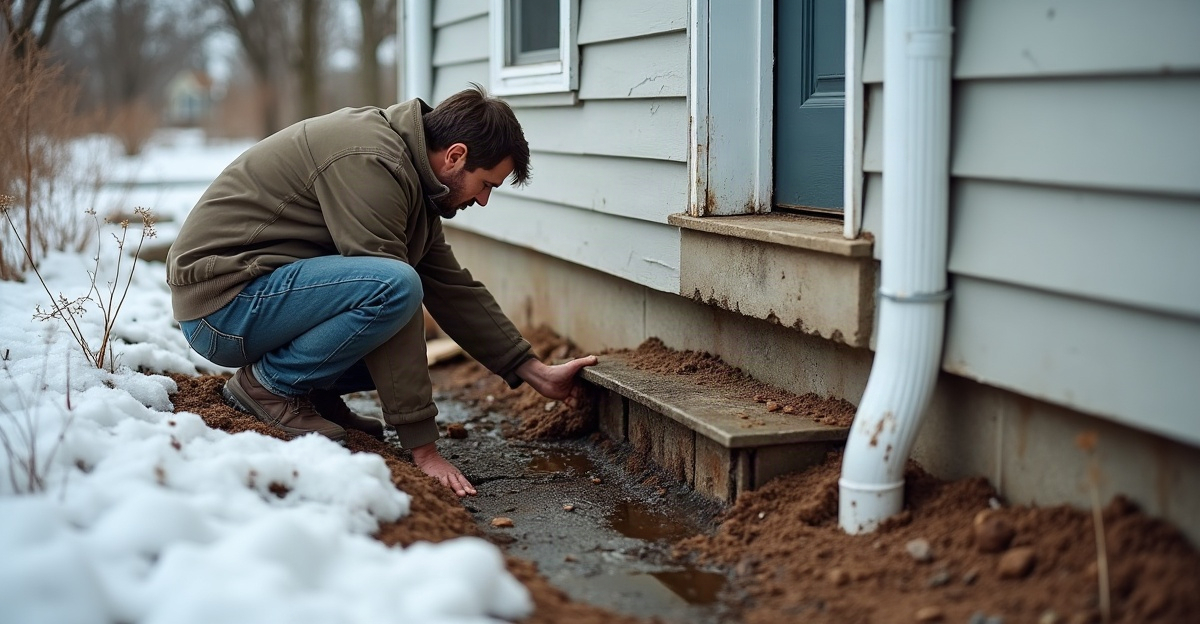
Every foundation pier installation starts with a site visit. We look at soil conditions, drainage patterns, existing structures, and access points. Clay-heavy areas, soft fill, and high water tables all affect depth and load transfer.
In Minnesota, frost depth isn’t optional. Local building codes require foundations to extend below frost lines or be engineered to resist soil movement. We make sure the design meets code before we bring equipment onsite.
Engineering drives the numbers. Either we perform load calculations or we coordinate with a licensed engineer. That determines:
- Number of piers
- Required spacing
- Target installation depth
- Minimum torque rating for load capacity
Torque requirements matter. Higher structural loads demand higher installation torque, which typically means deeper embedment into stronger soil layers.
We identify the bearing stratum—the soil layer capable of safely handling the applied load. Sometimes that’s several feet down. Other times it’s much deeper, especially in loose or previously disturbed soils.
Permits and inspection planning happen before installing helical piers begins. Building officials often require documented torque readings and installation depth verification.
One thing we always emphasize is that pier spacing, depth, capacity, and timeline change from project to project. There is no one-size-fits-all approach. A deck differs from a garage. A settling foundation differs from new construction. If we’re evaluating timing, this resource explains when to use helical piers for a foundation based on site conditions.
Step 2: Equipment Setup and Positioning on Site
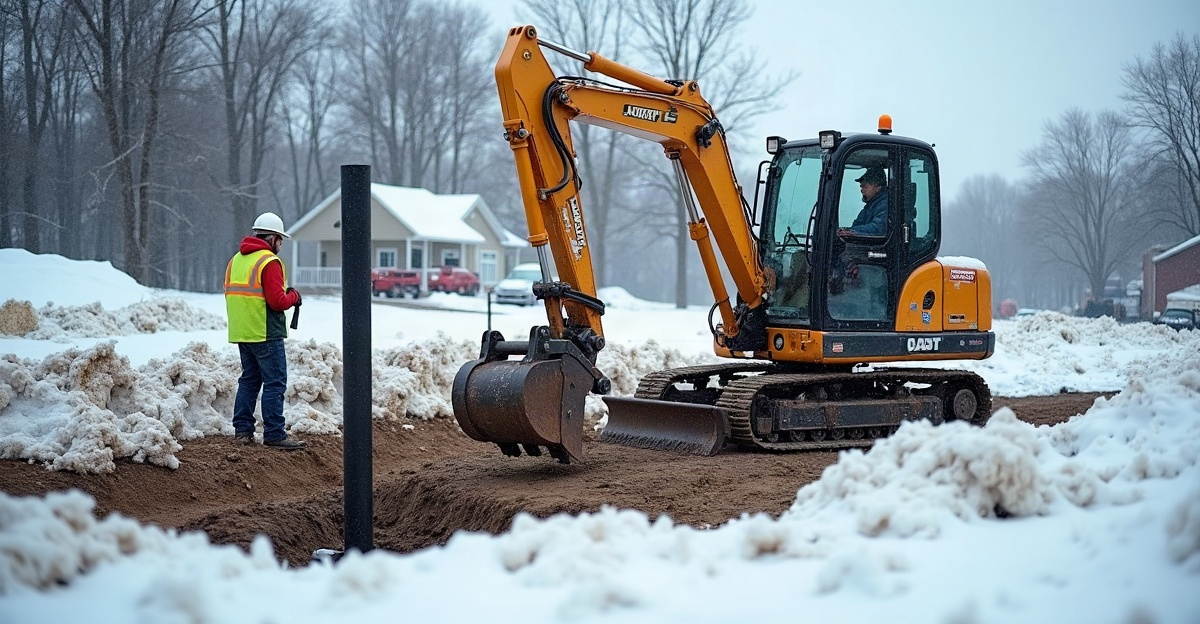
We typically use a hydraulic torque motor mounted on a skid steer, mini excavator, or similar compact machine. That setup gives us controlled rotational force while keeping access requirements relatively small.
Unlike concrete footings, we don’t excavate large holes. We create a small entry point where the pier will advance into the soil. That limits soil displacement and cleanup.
Alignment is critical. We position the machine so the pier installs plumb and centered directly beneath load points. That might be:
- Under deck posts
- Beneath grade beams
- Adjacent to foundation walls for repairs
Backyard access often dictates equipment size. Tight lots and fenced yards are common in residential work. For interior foundation repairs, we may cut small sections of slab for bracket placement.
Homeowners can expect:
- Noticeable equipment noise, similar to other compact construction machinery
- Limited yard disturbance compared to excavated footings
- Work concentrated in small, defined areas rather than long trenches
The goal is precision. Proper positioning at the start prevents correction later.
Step 3: Driving the Pier and Monitoring Torque (Why Torque Matters)
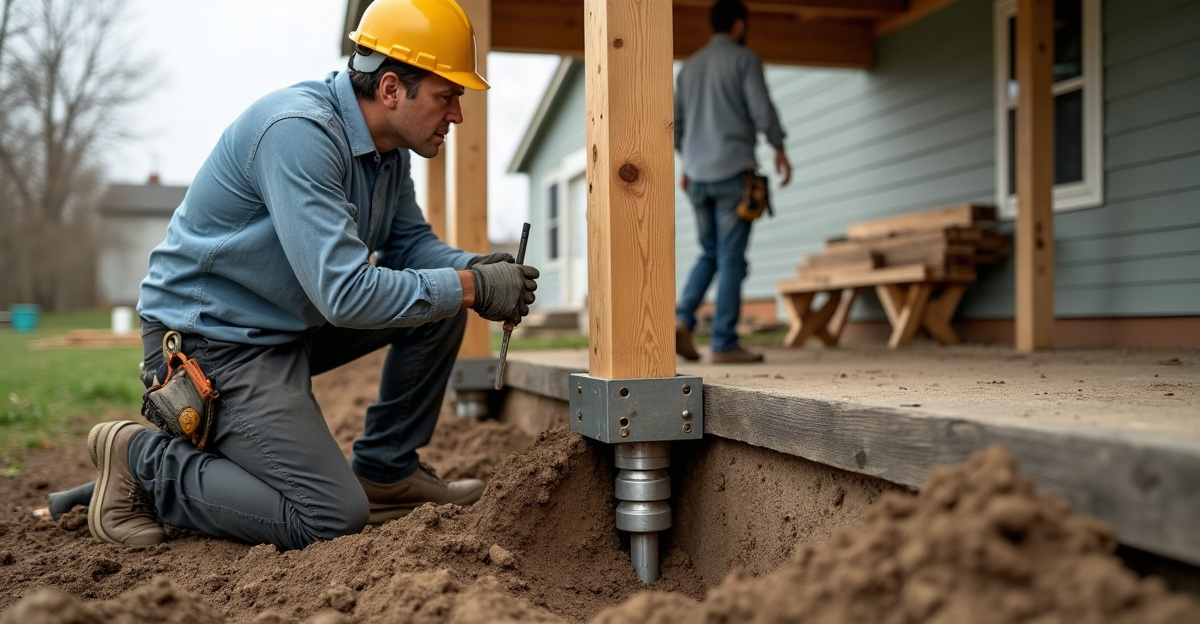
Installing helical piers means rotating the steel shaft into the ground using hydraulic power. The helical plates pull the pier downward as it turns, similar to a large screw entering wood.
As the pier advances, we add extensions to reach deeper strata. The depth varies depending on soil profile. In Minnesota clay, we often go deeper to reach consistent bearing material below active moisture zones.
Throughout screw pile installation, we continuously monitor torque. Torque is the resistance we measure as the pier rotates through soil. Higher resistance typically means stronger soil.
That measurement directly correlates to load-bearing capacity. Engineering charts convert installation torque into allowable loads. This gives us real-time confirmation that the pier can support the required structure weight.
We’re not guessing. We document torque readings to verify performance.
Installation continues until we reach one of two conditions:
- The target torque required for the engineered load
- Refusal, where the pier can’t advance further due to dense bearing soils or material
Once we hit the required torque, we know the pier can handle the calculated load for the structure above it. On repair projects, this step is critical for safety and long-term performance. If a home is settling, properly installed piers help transfer weight into deeper stable soil, which is exactly how helical piers stabilize settling foundations.
Step 4: Bracket Attachment and Load Transfer
After we achieve target depth and torque, we install a bracket or cap at the top of the pier.
The bracket type depends on the project.
For new construction, we typically use caps that support posts, beams, or grade beams directly. These are common for decks, porches, and additions. We frequently handle this through our foundation support for additions service.
For structural repairs, we install foundation brackets under existing footings. That often involves lifting or stabilizing the structure.
In repair scenarios, we may perform controlled load transfer. We gradually shift the structure’s weight from compromised soil onto the helical piers. This process is measured and monitored. The goal isn’t aggressive lifting. It’s safe stabilization.
One of the biggest advantages of the helical pier installation process is immediate load-bearing capability. Once brackets are secured and torque requirements are verified, the system is ready. There’s no waiting on concrete to cure.
We also document installation depth and final torque readings. Engineers and building officials use that documentation for project sign-off.
Timeline, Disruption, and How It Compares to Concrete Footings
Most small residential projects, such as a standard deck foundation, can be completed in a single day. Larger projects or deeper installations may take longer.
Timeline depends on:
- Soil conditions
- Required structural capacity
- Number of piers needed
- Site access limitations
Cold weather is another factor. Screw pile installation can often proceed in conditions that delay concrete placement. Frozen ground near the surface doesn’t stop us from advancing piers to deeper bearing layers.
Noise levels are consistent with compact equipment. There’s no repetitive hammering like driven piles. Yard disruption is limited compared to digging oversized footing holes and hauling spoil.
For a direct performance comparison, we break down helical piers vs concrete footings. In practical terms:
Helical Piers
- Minimal excavation
- Immediate load-bearing capability
- Capacity verified by torque readings
- Installable in a wide range of weather conditions
Concrete Footings
- Larger excavation areas
- Required cure time
- Performance tied closely to proper soil bearing and frost protection
There are situations where helical piers may not be the right fit. Underground obstructions can prevent proper alignment. Extremely high load requirements may exceed practical pier design limits. Severe access restrictions can also affect feasibility.
Every project is different. There’s no fixed cost, guaranteed depth, or standard timeline. The helical pier installation process is driven by engineering requirements and actual soil conditions on site.
If we need a project-specific evaluation, we can review details directly through our helical pier installation service or request a consultation through our contact page. The right solution always starts with accurate assessment and proper installation from the ground up.